Intro | Final Fantasy I, Part 1: The Beginning
- Location
- Brittany, France
- Pronouns
- He/Him
There was a point in my life where I considered myself a Final Fantasy fan, because I enjoyed playing every game in that series. Eventually, I looked back and thought this wasn't right, because while I had played some of every mainline Final Fantasy game ever released, I had never finished a single one. Not one!
I've always vaguely meant to go back and do a full replay of the series, but also that's a huge endeavour, so I just put it off indefinitely and likely would never have done so.
But now someone actually gifted me the entire Final Fantasy I-VI Pixel Remaster bundle, catching me in a deadly trap. With about a dozen other games I meant to play, it is therefore time to procrastinate on all of that and instead begin playing:
Every Final Fantasy Game In Chronological Order
Hopefully I don't get bored and wander off halfway through the ones nobody ever talks about. Like FF2. Or FF3. Or FF5-
Anyway!
Starting with the original Final Fantasy!

Oh yeah baby, that's the nostalgia- wait something is wrong.
Yeah, that's better.
I first played Final Fantasy: Dawn of Souls when it was released on Game Boy Advance. My memory of it is that it was kind of… eeeh? A hugely important piece of video game history for sure, but far outstripped by its successors. The specific reason I stopped playing, as I recall, was getting lost with no idea where to go next on the overworld and wandering off to play FF2 instead, since Dawn of Souls was a bundle.
So I'm interested in going the distance this time with the critical eye I did not have as a fourteen-year old.
With these expectations appropriately set, let's dive in!
My starting party. I realize the sprites were probably designed with a specific gender in mind, but they're low-poly enough that it's impossible to really tell, so this monk is a girl and this white mage is a guy.
FF1 gives you the choice of a party of four characters picked from six classes: Warrior, Thief, Monk, Red Mage, White Mage, and Black Mage. The 'standard' party is Warrior, Thief, White Mage, Black Mage, and that works perfectly well, but you can use any combination up to and including "all White Mages" if you want. In this case, Red Mage (a hybrid mage that can wield both black and white magic) is the only one of these classes that I've actually played in FF14, so it has to go in, but I also loathe the idea of not getting access to the highest spells in the game, so the other two Mages have to go in, redundancy be damned. The last slot would likely be better filled by a Warrior, capable of both physical offense and significant defense, but with RDM/WHM doubling down on the healing, I've decided to go with the pure offense power of the Monk, the only class to never get any magic, trading it in for more punches.
Also Red Mage is my favorite 8-bit theatre character.
An icon.
The fact that you pick your party offers replayability over several playthroughs, but also comes with one implication: the player characters aren't actually characters, being interchangeable, voiceless, nameless avatar of the player's tactical decisions. Not necessarily remarkable in the grand scheme of things, but notable for Final Fantasy, a series whose character writing has always been highlighted as one of its most important aspects.
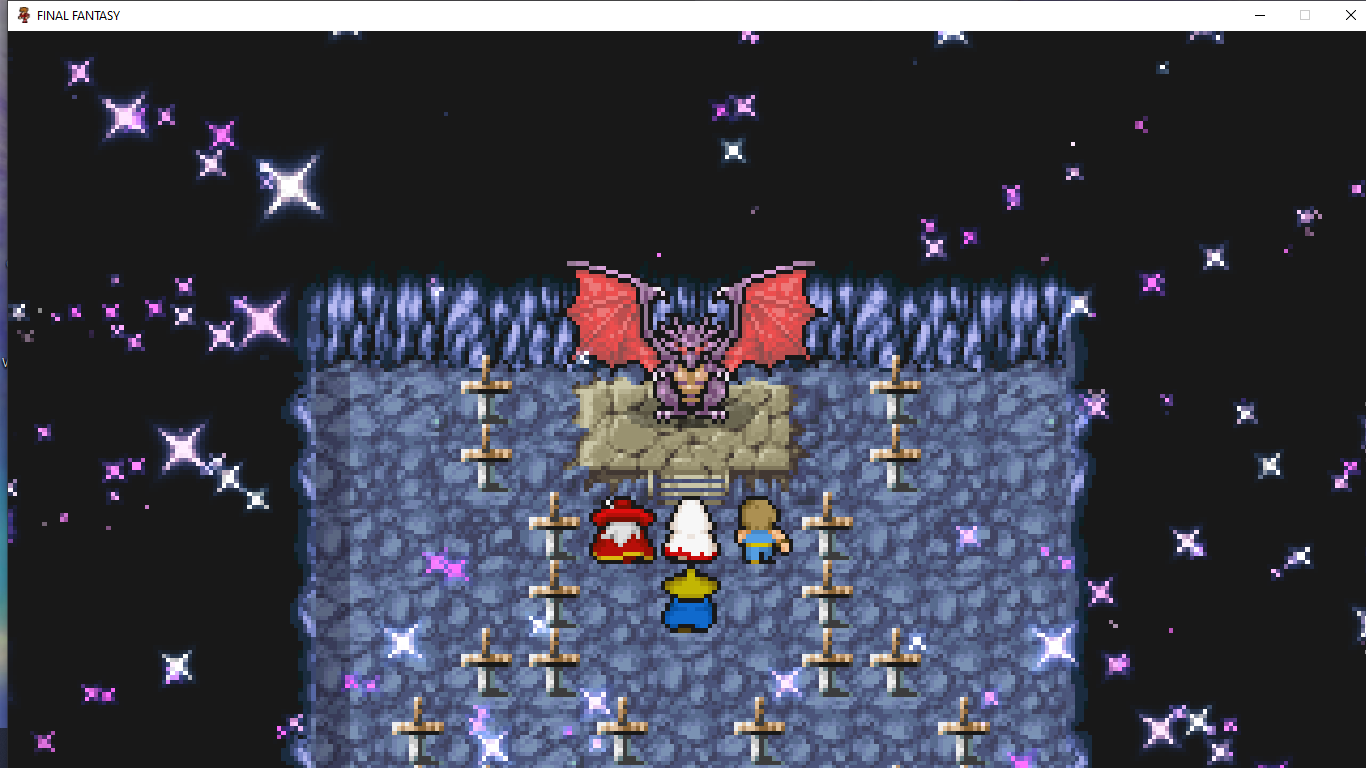
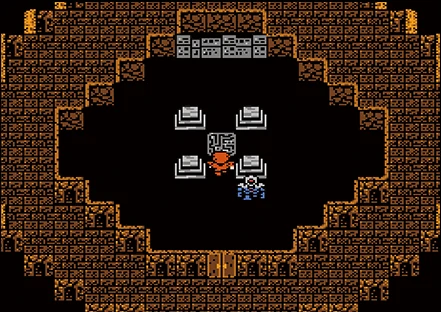
The game opens on a very sparse, yet suitably ominous cutscene telling us that the world is proper fucked, all the elements being out of alignment. Luckily, a prophecy says the Warriors of Light will come bearing crystals and save the world.
That's us!
The game opens up with your avatar (the topmost player character in the roster) appearing on the overworld map, right next to a town/castle. You are at this point given no indication what to do, but moving in nearly any direction causes you to enter the town proper, Cornelia, the Platonic Ideal of a Starting City. You immediately bump into a guard who takes you to see the king, who is like "oooh the warriors of the prophecy!" and asks you to go save his daughter from Garland, once a revered knight and best swordsman in the kingdom, who has turned evil for unspecificed reasons. If you save her, the king says, he will have the bridge upnorth rebuil to allow you to continue your quest.
Honestly it feels like he should have that bridge rebuilt for the sake of basic transportation and commerce, but the world is ending, so that's probably low on the priority list.
So after talking to everyone (this is done fairly quickly, there are few NPCs and their dialogue is extremely limited) I head out towards the Shrine of Chaos. On the way I defeat some goblins and wolves, get a couple of levels. I reach the game's very first dungeon, and begin exploring.
I instantly run into a werewolf and get team-wiped.
Grinding. I had forgotten grinding was a thing.
So after reloading, I spend a few minutes running around the grasslands and forests of the starting kingdom, fighting a bevvy of sprites, gaining levels and eventually enough money to upgrade some of my equipment. This is shockingly faster than I anticipated; my childhood memories are of hours spent grinding in most games, but this is done in twenty minutes.
The key thing is that battles are lightning-fast, rarely lasting more than three rounds, and with very simple and quick (if still impactful) animations.
Eventually, I make it back to the shrine, wipe out all in my path, leave to rest outside with a tent, then head back in to confront Garland.
Iconic line.
Garland cuts an intimidating figure, but as the first boss in the game, he isn't too much of a problem and quickly goes down.
On the second try, because on the first try he killed one of my PCs, and I realized that when a character dies, they don't get XP from the fight. Now that doesn't really matter because it balances out over enough battles, probably? I will never know. The very idea bothered me so much I decided this would be a no death run and I have been reloading every time one of my PCs died, like a psychopath.
SHUT UP YOU'RE NOT MY MOM I DO WHAT I WANT
Anyway Garland is down, the princess is saved, and the king has the bridge rebuilt.
It's cute that this game actually has animated cutscenes given its limited sprite budget.
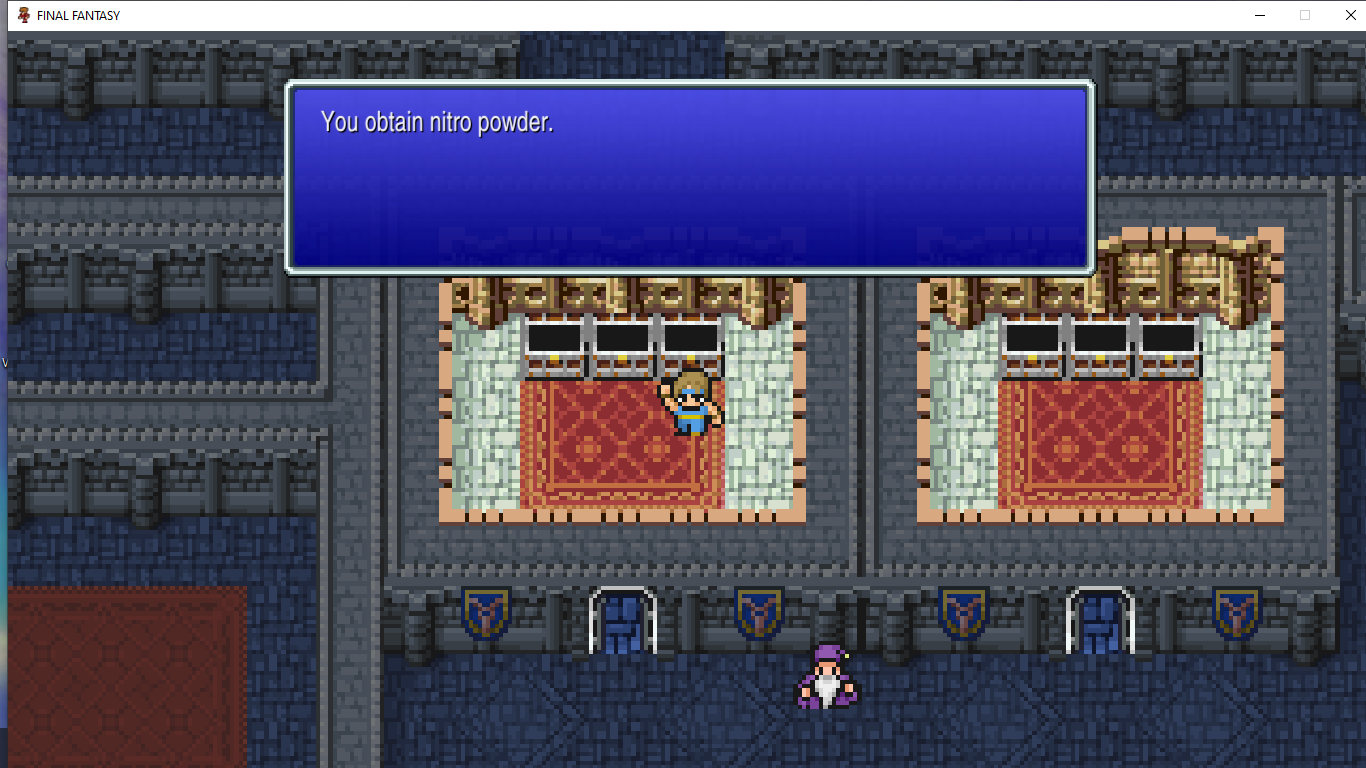
With the bridge rebuilt, I am free to roam further, fight new beasts, and rob a blind old woman.
No, I'm serious. One of the first places I find is Matoya's Cave; Matoya is an old witch who lives with her singing and dancing brooms. She's lost her "crystal eye," and is just stumbling blindly about her cave. So what do I do? I open every chest in her cave and leave without a word.
The heroes of the prophecy, everybody.
It's actually funny seeing the very first implementation of concepts that will be re-utilized much later; the Matoya I'm familiar with is from FF14, where she is also a cranky old witch living alone in a cave with her singing brooms, although she is a much more significant character with ties to the main plot of the game as well as a desperate attempt to give Y'shtola depth.
Eventually I reach the second town, [NAME], which has been taken over by pirates. I expected this to be a much more involved affair than it turned out to be: I literally just talk to a couple of townspeople, rest at the inn, buy some lv 2 spells, then go talk to a pirate NPC and it triggers the encounter.
"Cannon balls of steel." Hah.
This is the first time the game throws nine enemies at once at me, and I find this initially very intimidating due to the iron law of the Action Economy. I needn't haave worried; each individual pirate deals low damage and has low HP, so the whole group folds like paper and the pirate boss never enters the fray himself, but gives up the moment his men are down and promises to change his ways. He even offers me his ship! This overworld movement upgrade comes much faster than I expected.
So I take the ship and move around the map, exploring thee inner sea of the main continent, going back and forth between the two towns I have access to, exploring a little in land, until I find the third town, Elfheim. It's populated by, well, elves.
This town has a gravestone for "Link," no joke.
Their prince has been put into a magical sleep by the "king of dark elves," Astos, so I'm guessing that's my next side quest. I stock up on lv 3 spells (this progression is going much faster than I expected), head out, and just… wander around.
This game has very little signposting, is something I'd like to note. It just opens up the worldmap, and leaves you to figure it out. Sparse dialogue and it pre-dating any kind of 'quest log' means you're given very vague indication on what to do and how to go about doing it. In a sense, this gives the game a sense of freedom; it's also a bit confusing and makes it easy to not know what to do. In this case, I have no idea where Astos is, so I just wander about, going back to the town to rest when I fail to find anything and start getting low on resources.
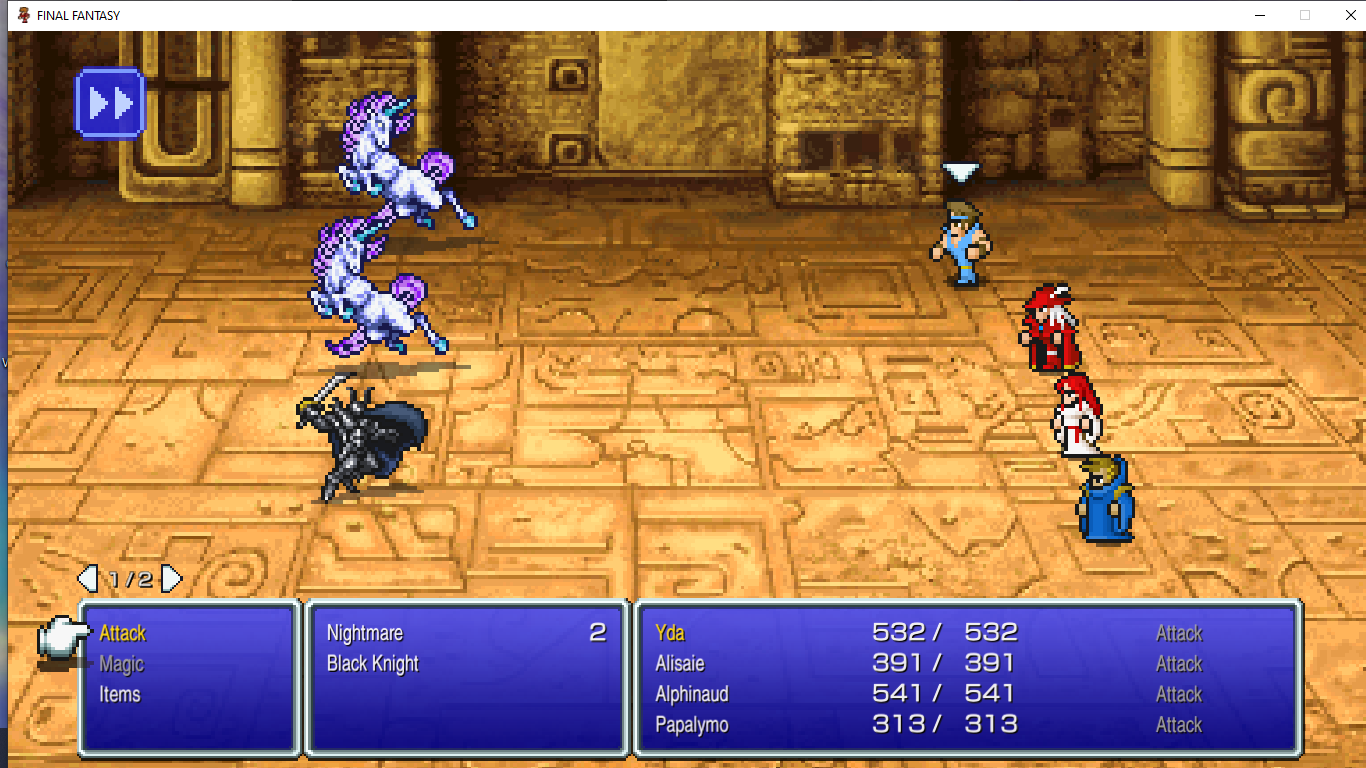
FF1's combat system is… interesting and frustrating in equal measure. It has more complexity than I expected, despite very simple systems. Each character acts in turn and can either Attack (deal physical damage), use an item, or cast a spell. Spells either deal damage, heal HP, cast a buff, or cast a debuff. With that said, the difference in outcome between just hammering Fight to get through a trash mob encounter and actually approaching that encounter for optimal results is fairly significant over time, because even lowly overworld mobs drain resources at the level I'm at.
Using a spell is also a fraught proposal. FF1 calls its magic points 'MP', but they actually work like D&D spell slots: you have a number of slots for each level of spells you know, and they don't cross over. This means that even after burning through all your high level spells, you can still cast low-level spells; it also means these spells become increasingly weak as time goes on, and you can't upcast. If your White Mage has run out of lv 1 and lv 3 slots, which contain Cure and Cura, the healing spells, no amount of lv 2 slots will allow them to heal, because there are no healing spells at lv 2 - only buffs and debuffs. It can get annoying to deal with.
lookit the cute little thing.
A little more exploring leads me to what I initially assume is a dungeon, but is actually the ruined castle of another king cursed by Astos, who laments that if he had his crown, he could end his curse, and tells me it is in the Marsh Caves. With nothing better to do, I head southwards towards the extensive marshlands and, wouldn't you know it, there's a cave entrance there.
I go down there…
And instantly get my shit pushed in by a slime.
The face of death.
So, back to grinding, and a good point to end my first play session of the game with.
This game is breezy. I only have a couple of hours logged in so far; the game just goes at breakneck pace from new town to new town to new overworld movement, battles are extremely quick. Everything is fast and… I think for the better? In a different game that would be poor pacing, but FF1 doesn't have the writing chops yet to actually do a slow burn, so keeping things fun and light on their feet is the best approach, I think.
Having a surprisingly good time so far!
I've always vaguely meant to go back and do a full replay of the series, but also that's a huge endeavour, so I just put it off indefinitely and likely would never have done so.
But now someone actually gifted me the entire Final Fantasy I-VI Pixel Remaster bundle, catching me in a deadly trap. With about a dozen other games I meant to play, it is therefore time to procrastinate on all of that and instead begin playing:
Every Final Fantasy Game In Chronological Order
Hopefully I don't get bored and wander off halfway through the ones nobody ever talks about. Like FF2. Or FF3. Or FF5-
Anyway!
Starting with the original Final Fantasy!

Oh yeah baby, that's the nostalgia- wait something is wrong.

Yeah, that's better.
I first played Final Fantasy: Dawn of Souls when it was released on Game Boy Advance. My memory of it is that it was kind of… eeeh? A hugely important piece of video game history for sure, but far outstripped by its successors. The specific reason I stopped playing, as I recall, was getting lost with no idea where to go next on the overworld and wandering off to play FF2 instead, since Dawn of Souls was a bundle.
So I'm interested in going the distance this time with the critical eye I did not have as a fourteen-year old.
With these expectations appropriately set, let's dive in!

My starting party. I realize the sprites were probably designed with a specific gender in mind, but they're low-poly enough that it's impossible to really tell, so this monk is a girl and this white mage is a guy.
FF1 gives you the choice of a party of four characters picked from six classes: Warrior, Thief, Monk, Red Mage, White Mage, and Black Mage. The 'standard' party is Warrior, Thief, White Mage, Black Mage, and that works perfectly well, but you can use any combination up to and including "all White Mages" if you want. In this case, Red Mage (a hybrid mage that can wield both black and white magic) is the only one of these classes that I've actually played in FF14, so it has to go in, but I also loathe the idea of not getting access to the highest spells in the game, so the other two Mages have to go in, redundancy be damned. The last slot would likely be better filled by a Warrior, capable of both physical offense and significant defense, but with RDM/WHM doubling down on the healing, I've decided to go with the pure offense power of the Monk, the only class to never get any magic, trading it in for more punches.
Also Red Mage is my favorite 8-bit theatre character.

An icon.
The fact that you pick your party offers replayability over several playthroughs, but also comes with one implication: the player characters aren't actually characters, being interchangeable, voiceless, nameless avatar of the player's tactical decisions. Not necessarily remarkable in the grand scheme of things, but notable for Final Fantasy, a series whose character writing has always been highlighted as one of its most important aspects.

The game opens on a very sparse, yet suitably ominous cutscene telling us that the world is proper fucked, all the elements being out of alignment. Luckily, a prophecy says the Warriors of Light will come bearing crystals and save the world.
That's us!
The game opens up with your avatar (the topmost player character in the roster) appearing on the overworld map, right next to a town/castle. You are at this point given no indication what to do, but moving in nearly any direction causes you to enter the town proper, Cornelia, the Platonic Ideal of a Starting City. You immediately bump into a guard who takes you to see the king, who is like "oooh the warriors of the prophecy!" and asks you to go save his daughter from Garland, once a revered knight and best swordsman in the kingdom, who has turned evil for unspecificed reasons. If you save her, the king says, he will have the bridge upnorth rebuil to allow you to continue your quest.
Honestly it feels like he should have that bridge rebuilt for the sake of basic transportation and commerce, but the world is ending, so that's probably low on the priority list.
So after talking to everyone (this is done fairly quickly, there are few NPCs and their dialogue is extremely limited) I head out towards the Shrine of Chaos. On the way I defeat some goblins and wolves, get a couple of levels. I reach the game's very first dungeon, and begin exploring.
I instantly run into a werewolf and get team-wiped.
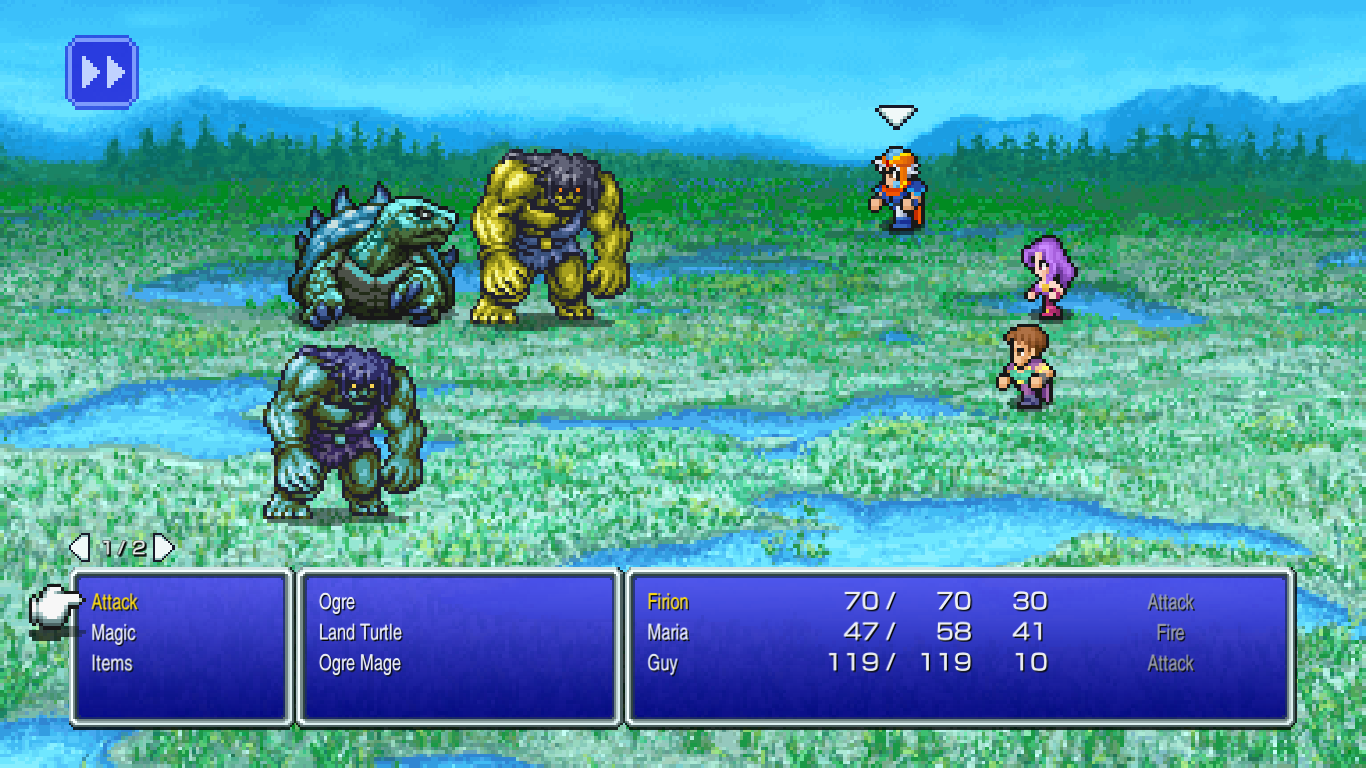
Grinding. I had forgotten grinding was a thing.
So after reloading, I spend a few minutes running around the grasslands and forests of the starting kingdom, fighting a bevvy of sprites, gaining levels and eventually enough money to upgrade some of my equipment. This is shockingly faster than I anticipated; my childhood memories are of hours spent grinding in most games, but this is done in twenty minutes.
The key thing is that battles are lightning-fast, rarely lasting more than three rounds, and with very simple and quick (if still impactful) animations.
Eventually, I make it back to the shrine, wipe out all in my path, leave to rest outside with a tent, then head back in to confront Garland.
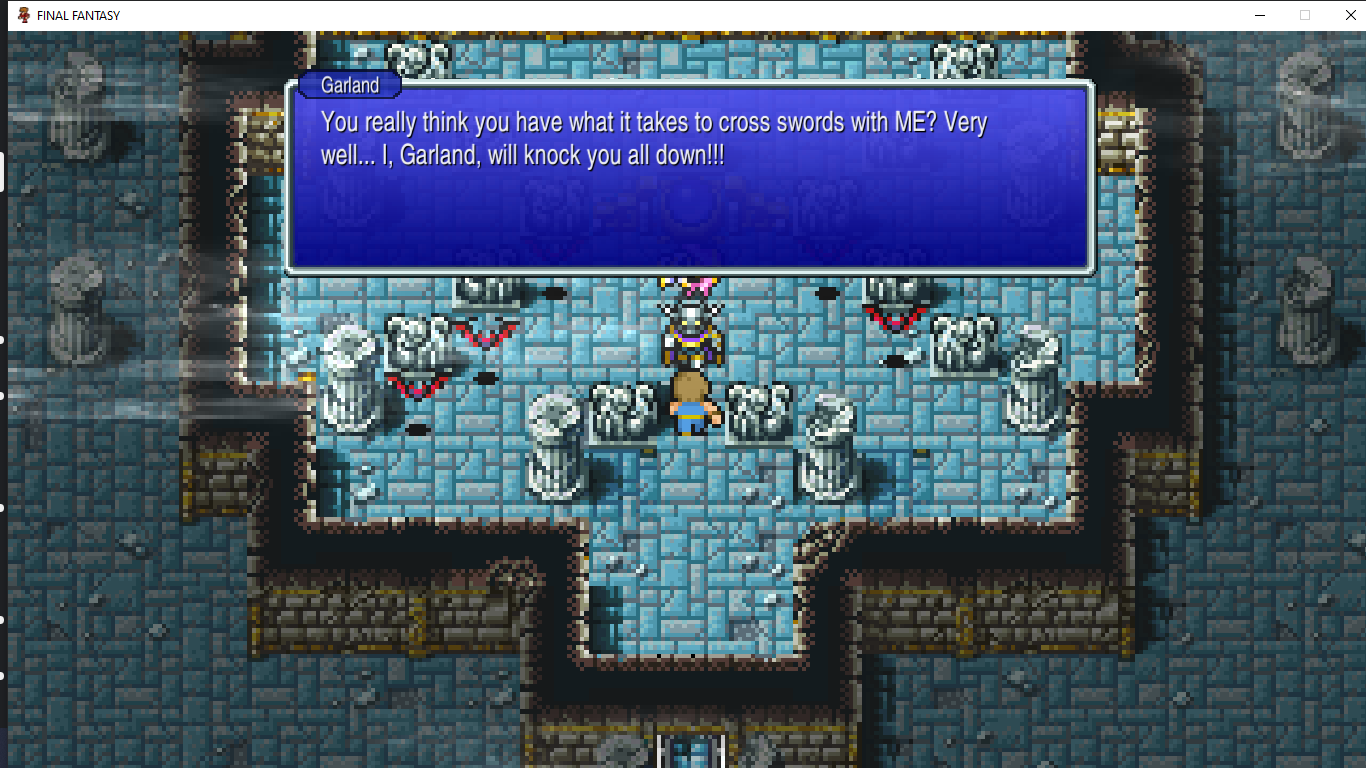
Iconic line.
Garland cuts an intimidating figure, but as the first boss in the game, he isn't too much of a problem and quickly goes down.
On the second try, because on the first try he killed one of my PCs, and I realized that when a character dies, they don't get XP from the fight. Now that doesn't really matter because it balances out over enough battles, probably? I will never know. The very idea bothered me so much I decided this would be a no death run and I have been reloading every time one of my PCs died, like a psychopath.
SHUT UP YOU'RE NOT MY MOM I DO WHAT I WANT
Anyway Garland is down, the princess is saved, and the king has the bridge rebuilt.
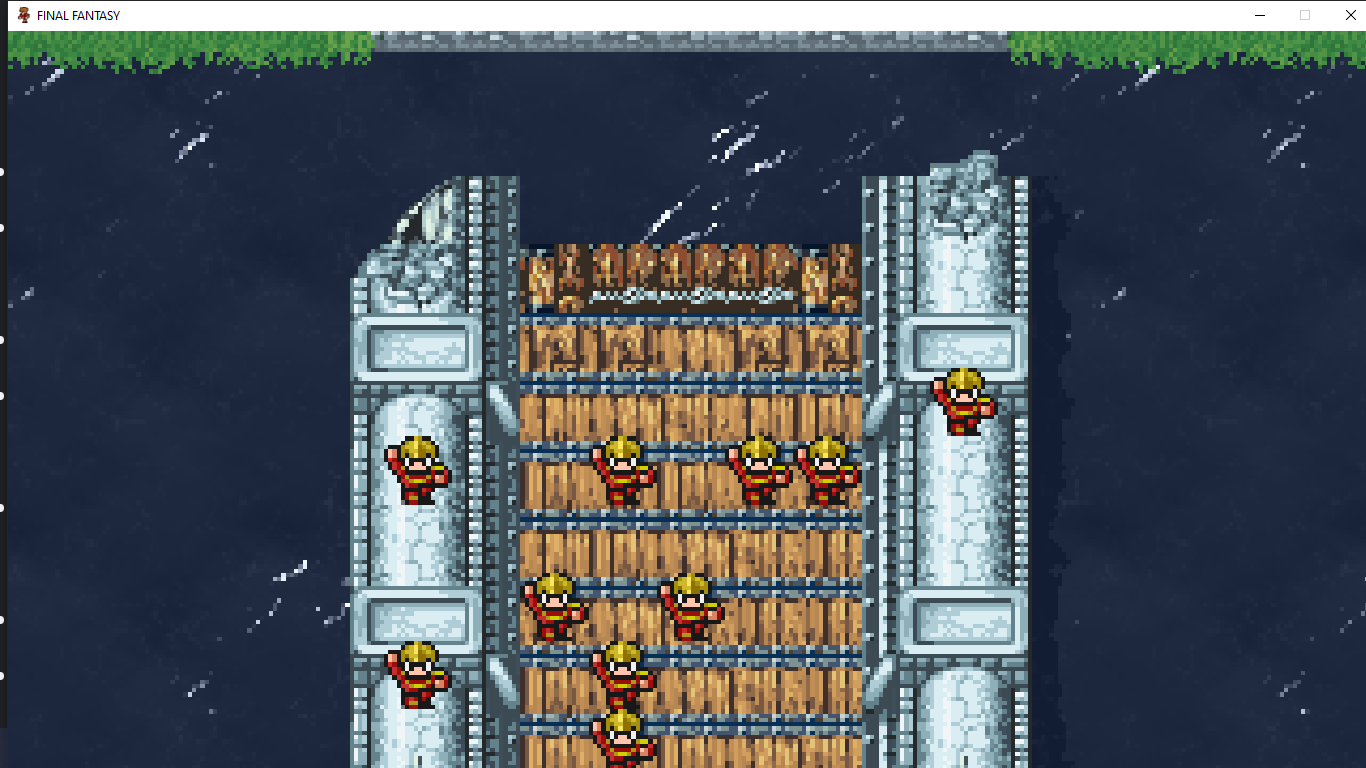
It's cute that this game actually has animated cutscenes given its limited sprite budget.

With the bridge rebuilt, I am free to roam further, fight new beasts, and rob a blind old woman.
No, I'm serious. One of the first places I find is Matoya's Cave; Matoya is an old witch who lives with her singing and dancing brooms. She's lost her "crystal eye," and is just stumbling blindly about her cave. So what do I do? I open every chest in her cave and leave without a word.
The heroes of the prophecy, everybody.
It's actually funny seeing the very first implementation of concepts that will be re-utilized much later; the Matoya I'm familiar with is from FF14, where she is also a cranky old witch living alone in a cave with her singing brooms, although she is a much more significant character with ties to the main plot of the game as well as a desperate attempt to give Y'shtola depth.
Eventually I reach the second town, [NAME], which has been taken over by pirates. I expected this to be a much more involved affair than it turned out to be: I literally just talk to a couple of townspeople, rest at the inn, buy some lv 2 spells, then go talk to a pirate NPC and it triggers the encounter.
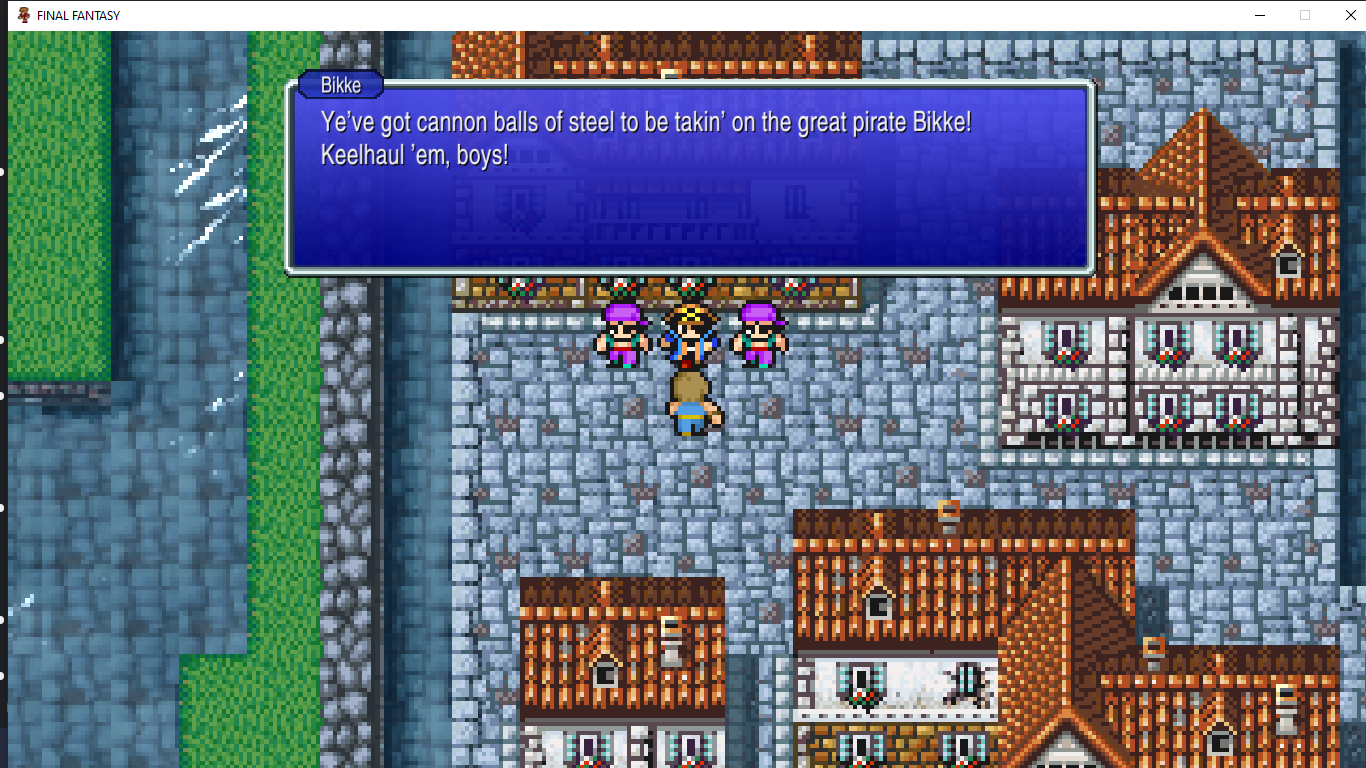
"Cannon balls of steel." Hah.
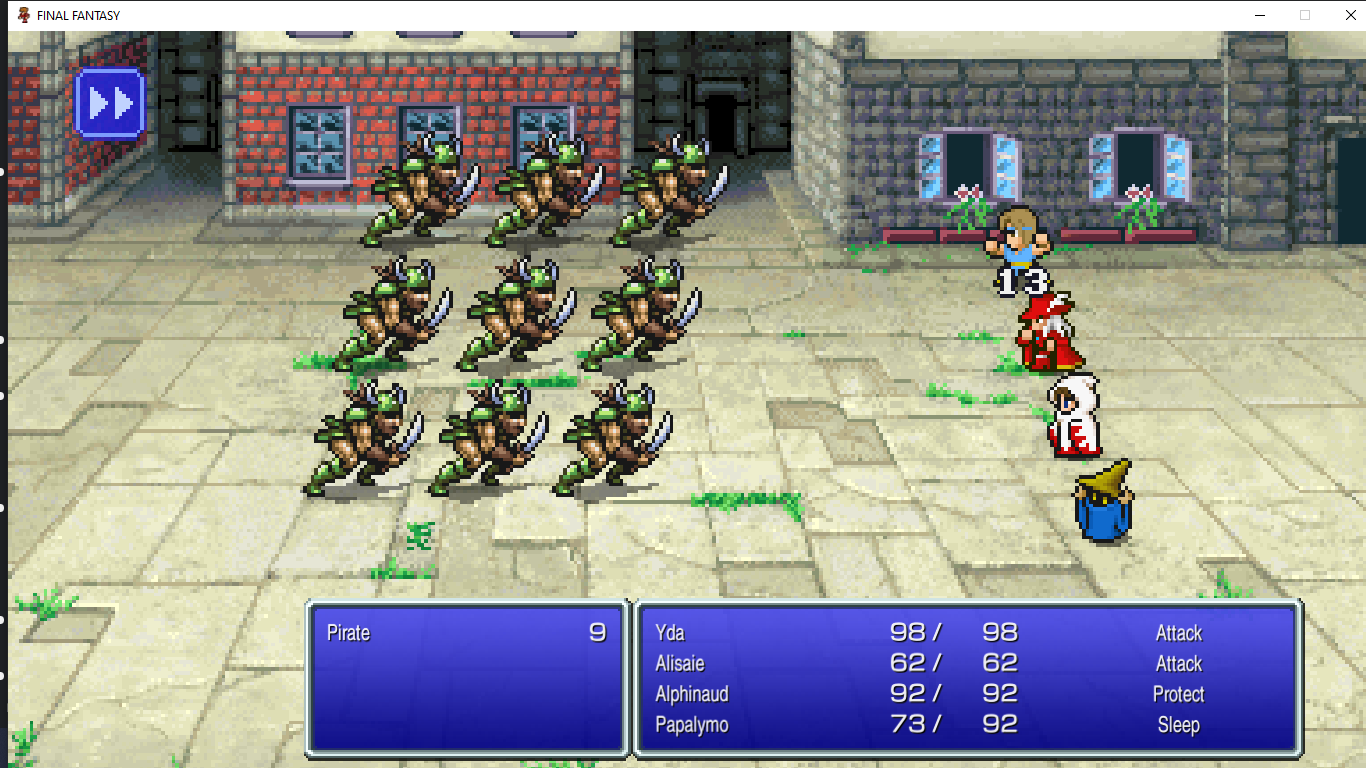
This is the first time the game throws nine enemies at once at me, and I find this initially very intimidating due to the iron law of the Action Economy. I needn't haave worried; each individual pirate deals low damage and has low HP, so the whole group folds like paper and the pirate boss never enters the fray himself, but gives up the moment his men are down and promises to change his ways. He even offers me his ship! This overworld movement upgrade comes much faster than I expected.
So I take the ship and move around the map, exploring thee inner sea of the main continent, going back and forth between the two towns I have access to, exploring a little in land, until I find the third town, Elfheim. It's populated by, well, elves.
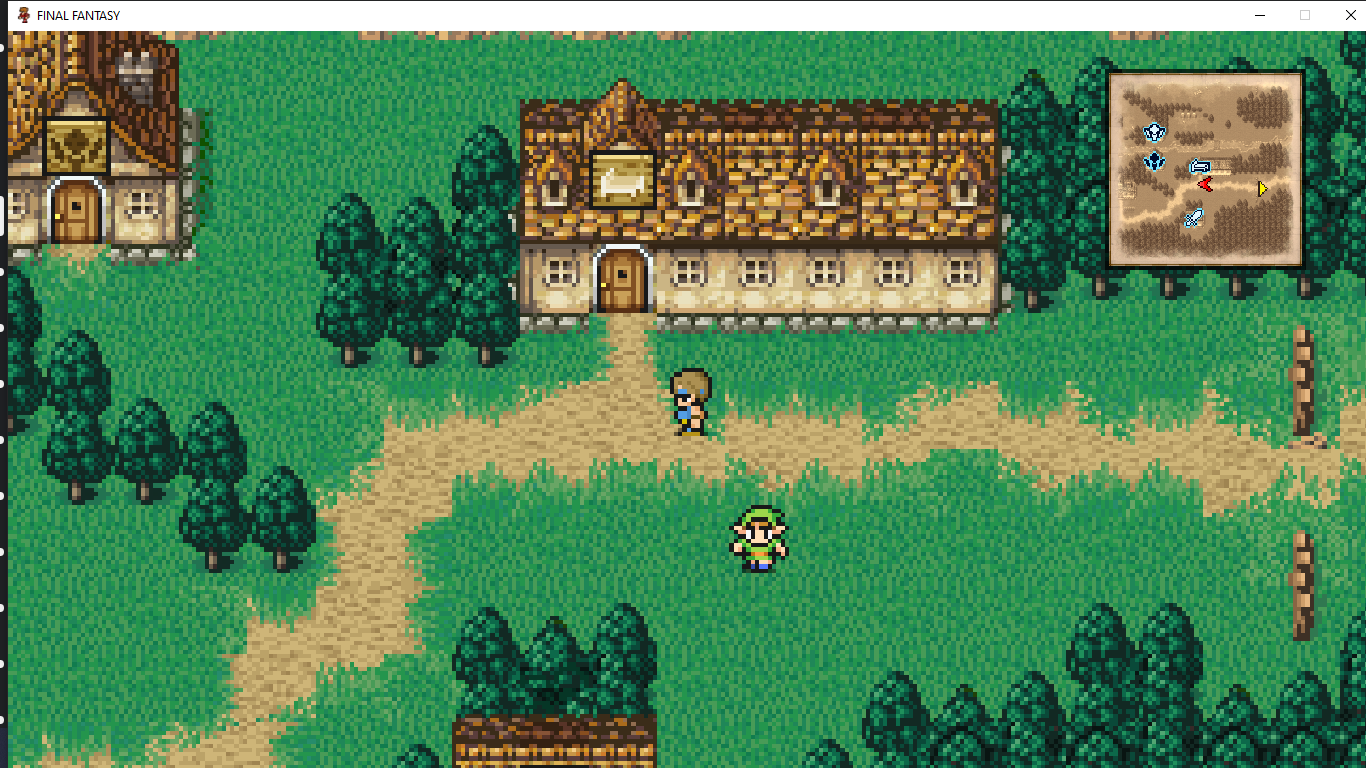
This town has a gravestone for "Link," no joke.
Their prince has been put into a magical sleep by the "king of dark elves," Astos, so I'm guessing that's my next side quest. I stock up on lv 3 spells (this progression is going much faster than I expected), head out, and just… wander around.
This game has very little signposting, is something I'd like to note. It just opens up the worldmap, and leaves you to figure it out. Sparse dialogue and it pre-dating any kind of 'quest log' means you're given very vague indication on what to do and how to go about doing it. In a sense, this gives the game a sense of freedom; it's also a bit confusing and makes it easy to not know what to do. In this case, I have no idea where Astos is, so I just wander about, going back to the town to rest when I fail to find anything and start getting low on resources.
FF1's combat system is… interesting and frustrating in equal measure. It has more complexity than I expected, despite very simple systems. Each character acts in turn and can either Attack (deal physical damage), use an item, or cast a spell. Spells either deal damage, heal HP, cast a buff, or cast a debuff. With that said, the difference in outcome between just hammering Fight to get through a trash mob encounter and actually approaching that encounter for optimal results is fairly significant over time, because even lowly overworld mobs drain resources at the level I'm at.
Using a spell is also a fraught proposal. FF1 calls its magic points 'MP', but they actually work like D&D spell slots: you have a number of slots for each level of spells you know, and they don't cross over. This means that even after burning through all your high level spells, you can still cast low-level spells; it also means these spells become increasingly weak as time goes on, and you can't upcast. If your White Mage has run out of lv 1 and lv 3 slots, which contain Cure and Cura, the healing spells, no amount of lv 2 slots will allow them to heal, because there are no healing spells at lv 2 - only buffs and debuffs. It can get annoying to deal with.

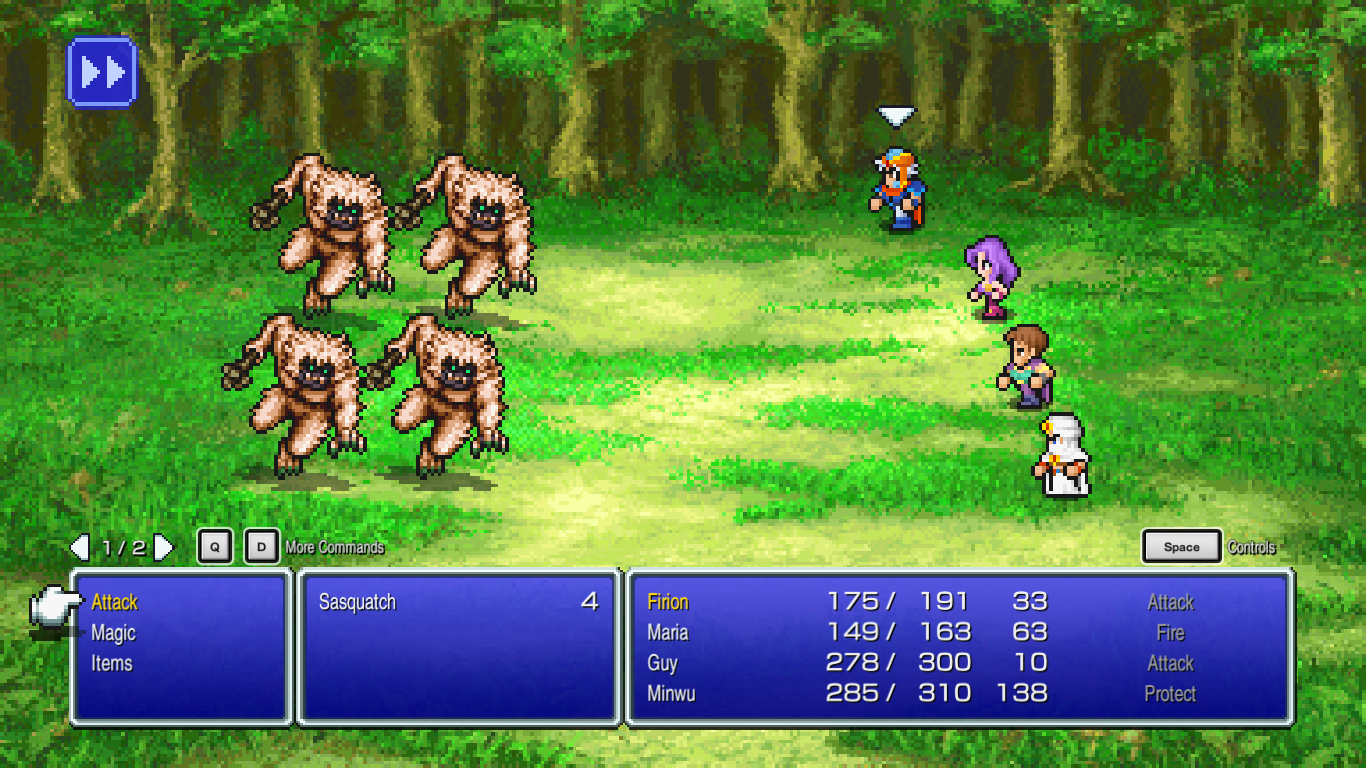
lookit the cute little thing.
A little more exploring leads me to what I initially assume is a dungeon, but is actually the ruined castle of another king cursed by Astos, who laments that if he had his crown, he could end his curse, and tells me it is in the Marsh Caves. With nothing better to do, I head southwards towards the extensive marshlands and, wouldn't you know it, there's a cave entrance there.
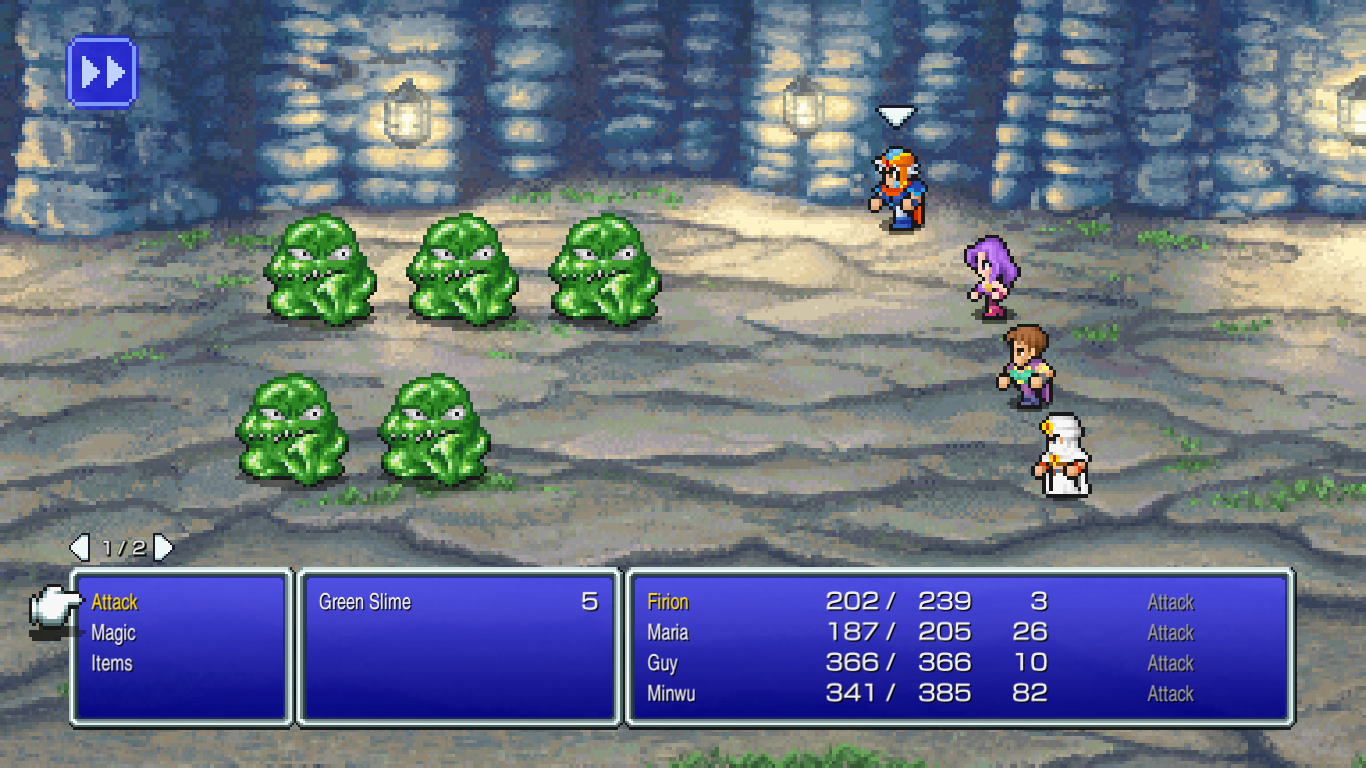
I go down there…
And instantly get my shit pushed in by a slime.
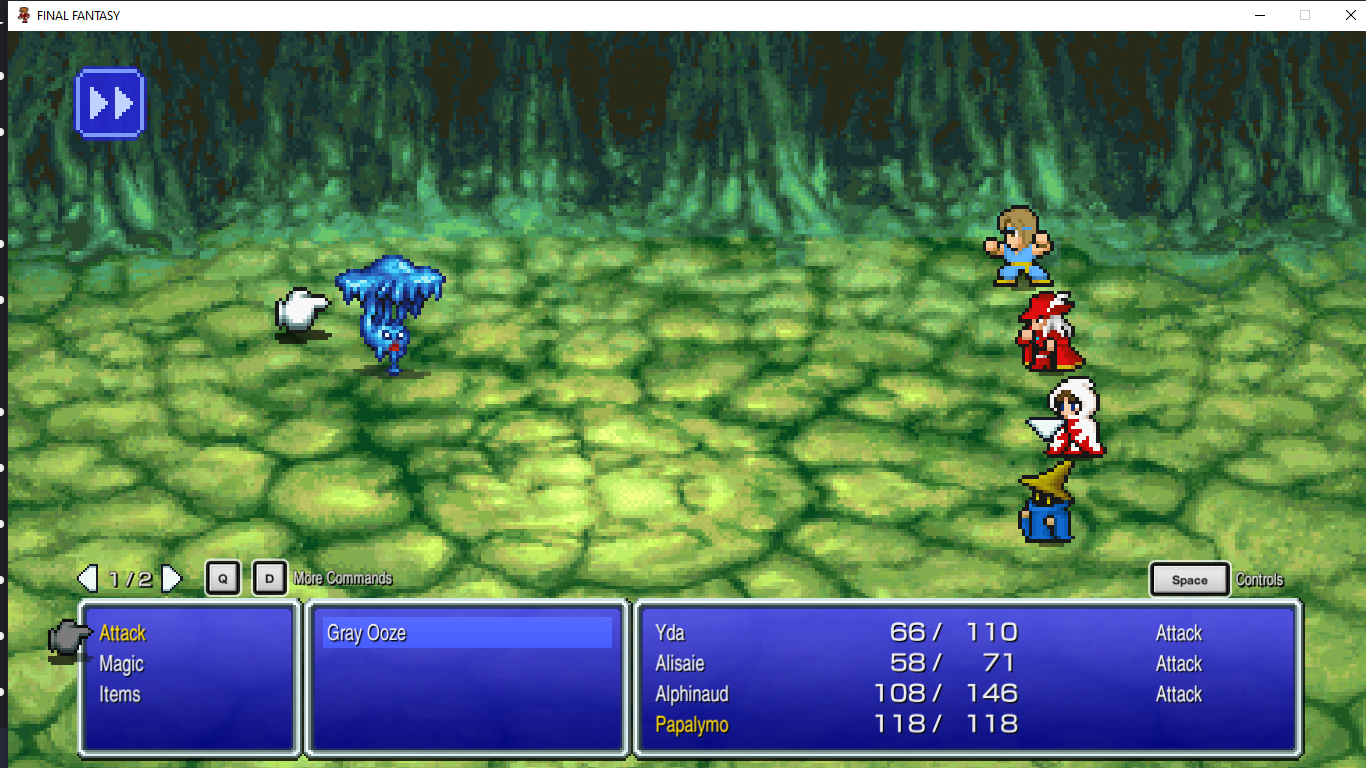
The face of death.
So, back to grinding, and a good point to end my first play session of the game with.
This game is breezy. I only have a couple of hours logged in so far; the game just goes at breakneck pace from new town to new town to new overworld movement, battles are extremely quick. Everything is fast and… I think for the better? In a different game that would be poor pacing, but FF1 doesn't have the writing chops yet to actually do a slow burn, so keeping things fun and light on their feet is the best approach, I think.
Having a surprisingly good time so far!